

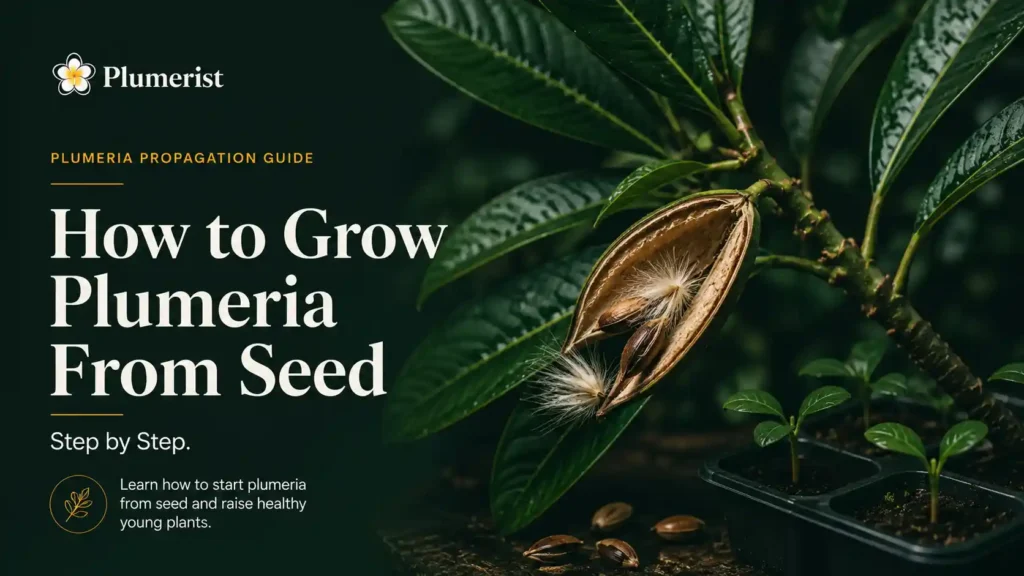
Growing plumeria from seed is a long project with an uncertain flower result. The seedling is not a guaranteed copy of the named parent. Choose a cutting or grafted plant if reproducing a particular cultivar is the goal.
For seeds, plan for warm germination conditions, careful young plant care and several years before a useful flowering assessment. Fast emergence does not mean fast flowers. A healthy seedling can remain in its juvenile phase well beyond its first growing season.
Is growing plumeria from seed right for your goal?
| What you want | Does seed fit? | Better expectation |
|---|---|---|
| An exact named cultivar | Not as a reliable way to preserve its identity. | Choose vegetative propagation from a correctly identified source. |
| A low cost growing project | Potentially, with space and patience. | Expect variation and some losses rather than guaranteed identical plants. |
| Flowers this season | Poor fit for that deadline. | Buy an established plant with realistic information about its stage. |
| To explore seedling variation | Yes, if you can keep records and grow plants on. | Evaluate the whole plant over time; do not assume every seedling is a valuable novelty. |
Seeds develop through sexual reproduction. A known seed parent does not necessarily establish the pollen parent. Open pollinated seed labels should preserve that uncertainty.
A seedling can resemble its parent without being the same clone. It can also differ in flower form, scent or growth habit. Do not rename it as the parent merely because its first flowers look similar.
Buy seeds with useful provenance
Ask when seeds were collected, how they were stored and what the seller knows about parentage. Keep the packet or save the listing information. Flower photographs show a possible parent or sales illustration, not a guaranteed seedling outcome.
Prefer clearly labeled lots over promises of exact rare colors from seed. A low price does not answer identity or viability questions. Import and plant health rules may also apply when buying across borders.
If collecting your own, wait for the pod to mature rather than opening it simply because it looks large. Our seed pod guide covers that stage. Label the harvested lot before individual seeds become separated.
Use a germination check, not a float verdict
Plumeria seeds have a thicker seed body and a papery wing. A float test alone cannot establish whether the embryo is alive. Do not discard otherwise sound seeds solely because they float.
Older seeds may still be worth sowing, depending on storage and condition. A universal three month expiry date is too definite. If supplies are limited, sow a small labeled sample under suitable conditions instead of judging the whole lot by appearance.
Count seeds sown and seedlings emerged separately. Ten seedlings from twenty seeds is useful information about that lot and method. It is not a universal germination percentage for all plumerias.
Sow into a simple, controllable setup
- Choose clean containers with drainage and a clean, fine seed starting medium.
- Moisten the medium evenly without leaving it saturated.
- Insert the thick seed body shallowly with the papery wing pointing upward.
- Keep conditions warm and stable. Check the media temperature rather than relying only on room air.
- Maintain moisture, inspect daily and provide good light as seedlings emerge.
Direct sowing avoids moving a newly exposed root from paper into media. A towel method can show germination earlier, but it adds handling and tangling risks. Our step by step germination guide compares those choices and common failures.
A thermostat controlled propagation mat can help in a cool room when used according to its directions. Do not substitute an unregulated hot surface. Warmth should not come at the cost of cooked or dried seeds.
Think in stages, not promised dates
The University of Hawaii’s plumeria publication describes emergence at about two weeks and flowering from seedlings after three years or more. Those are useful broad benchmarks, not deadlines. Seed quality, temperature and the length of the growing season affect progress.
| Stage | What to look for | Next decision |
|---|---|---|
| Sown seed | Media remains moist and the seed body stays sound. | Maintain conditions; do not repeatedly excavate it. |
| Emergence | A seedling rises and seed leaves open. | Increase ventilation and supply suitable light. |
| True leaf growth | New leaves develop beyond the initial seed leaves. | Assess root establishment, existing nutrients and transplant readiness. |
| Established young plant | Roots occupy the current space and growth continues. | Move into a manageable next container when justified. |
| Flowering maturity | An inflorescence develops after the juvenile period. | Record the first bloom without treating it as a fixed forecast for every seedling. |
Seedlings grown through short summers can progress differently from plants kept warm and actively growing for much longer. Height alone does not reveal the date of the first flowers. Avoid percentages or age charts that have no documented trial behind them.
Care after emergence
Keep young roots gently moist without persistent saturation. A small seedling cannot be managed like a cool leafless mature tree. Do not wait for severe wilting as the signal to water.
Provide bright light while introducing stronger sun gradually. A covered tray can overheat in direct sun. Remove unnecessary covers once emergence and room conditions make them unsuitable.
Feed only after checking the media and suitable seedling directions. Some mixes and plugs already contain nutrients. The plumeria seedling care guide follows the plant from emergence through establishment.
Transplant by development and root condition
Wait until the plant is established enough to handle and its root ball can be moved with limited disturbance. True leaves and roots are more informative than a birthday alone. Do not repeatedly unpot a healthy seedling just to inspect it.
Support the root ball and keep the same planting depth. Avoid a huge container of wet mix around a tiny root system. The next pot should allow growth while keeping moisture manageable.
Use a mix suited to the new stage rather than automatically choosing either heavy garden soil or an extremely coarse adult blend. Read soil for plumeria for the difference. Check moisture carefully while the plant adjusts.
Keep records that remain useful years later
Give each seed lot an identifier and each seedling its own number. Record the seed parent as reported and mark unknown pollen parentage explicitly. Keep a durable label and a separate digital record.
Record collection information, sowing date, emergence and major changes in media or feeding. Add photographs with scale when possible. These observations help explain differences between siblings without inventing a cause.
At first flowering, record date, flower appearance, fragrance observations and growing conditions. Compare later blooms too. One photograph from a first bloom is not a reliable basis for sweeping claims about a new cultivar.
Problems worth preventing early
Clean containers and media reduce avoidable disease risk. Persistent wetness and cool conditions can favor seed and seedling losses. Discard collapsed, decaying seedlings rather than assuming a fertilizer tonic will restore them.
If several plants stall together, review the shared light, temperature and moisture conditions first. If one sibling differs, inspect it individually. Do not increase feed for the entire tray because one seedling looks pale.
Growing plumeria from seed questions
Can a seedling bloom in two years?
Early flowering can occur, but it should not become the expected deadline. Plan for several years and possible longer waits. Published extension guidance gives three years or more as a broader expectation.
Will every seedling look different?
Not necessarily in an obvious way. Siblings may resemble each other or a parent, while still being separate seedlings. Variation does not guarantee a new color or exceptional plant.
Is growing plumeria from seed easier than rooting a cutting?
They solve different problems. Seeds offer a project with variation and a long juvenile period. A correctly identified cutting preserves the cultivar, though it still needs successful rooting and establishment.
The Plumerist toolkit
The gear we would buy if we were starting over.
As an Amazon Associate, Plumerist earns from qualifying purchases.